Computer First Time Setup
The below steps will guide you through setting up Windows for the first time and allow our technicians to remote in and continue the setup of your new Computer.
Instructions
1. Unbox and Setup Computer or Laptop (Do not connect to Wifi or Network Cable)
2. Power On the computer.
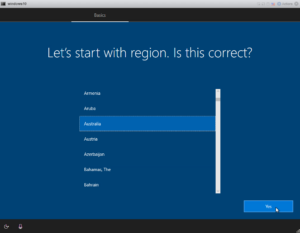
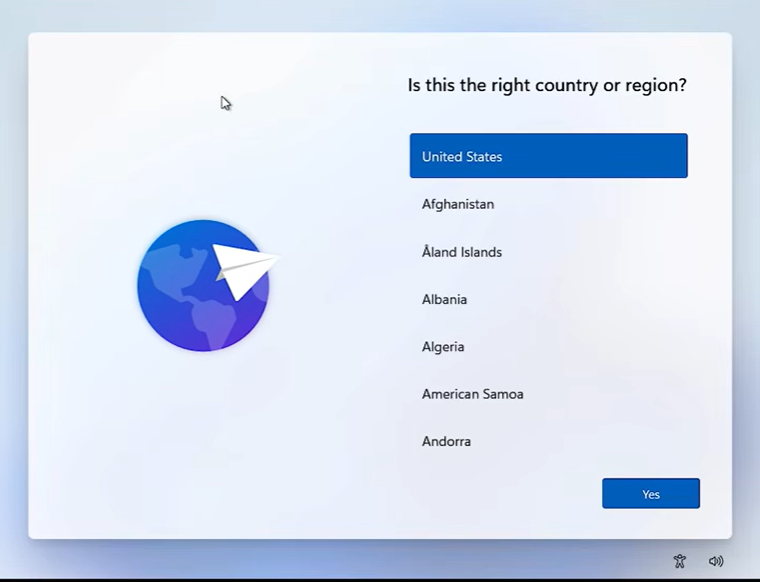
3. Select Australia as your region.
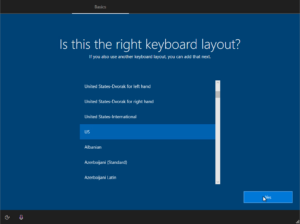
4. Select US as your keyboard.
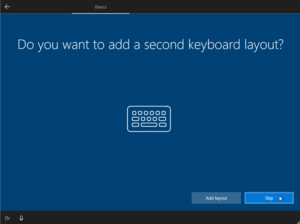
5. Select Skip when asked to add a second keyboard layout
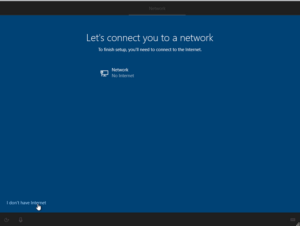
6. Select I don’t have an Internet connection.
Internet will be connected at the end, as this will speed up the process.
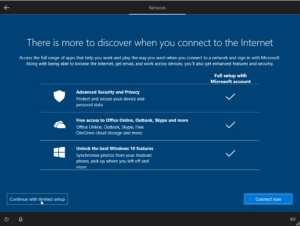
7. On the next screen select Continue with limited setup.
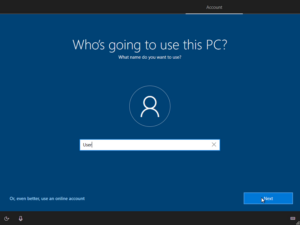
8. When asked Who is going to use this PC type “User” into the textbox and select Next.
This is a temporary account that is removed after setup.
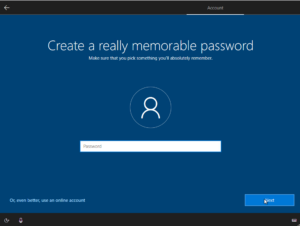
9. Leave the password field blank and select Next.
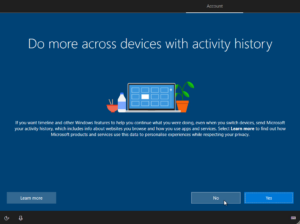
10. Select No on next screen
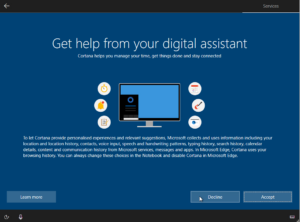
11. Select Decline on the next screen.
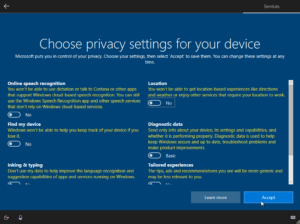
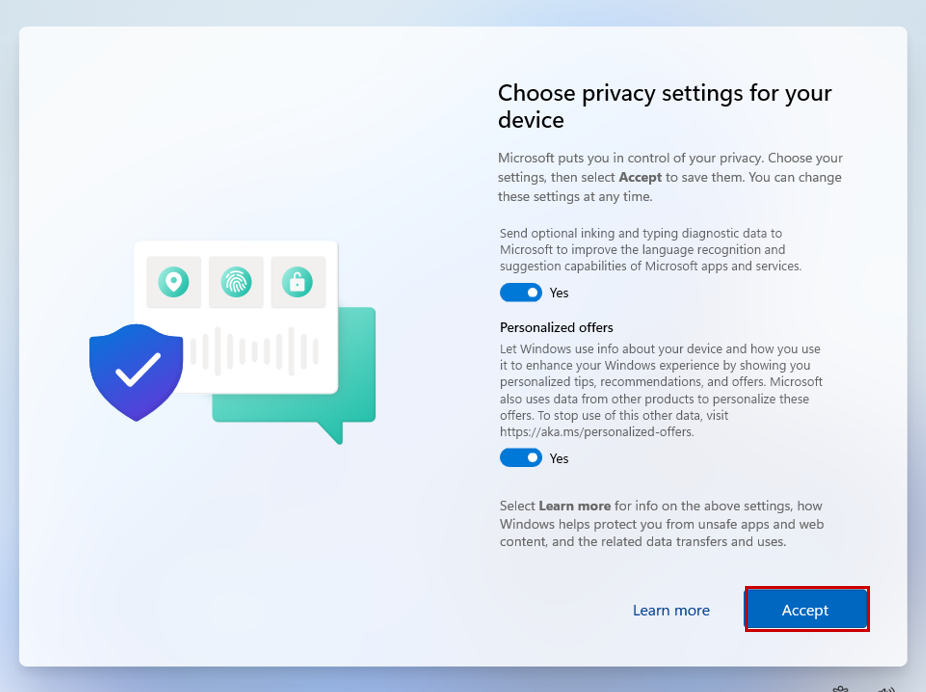
12. Set all options to No and click Accept.
13. You will now be on the Windows Desktop.
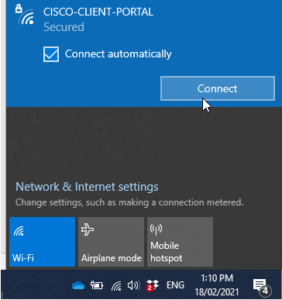
14. Connect to the Internet now by either connecting to your Wifi or Plugging in the Network Cable.
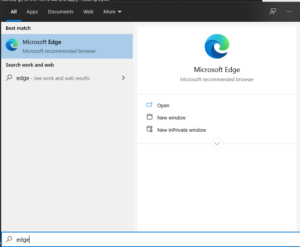
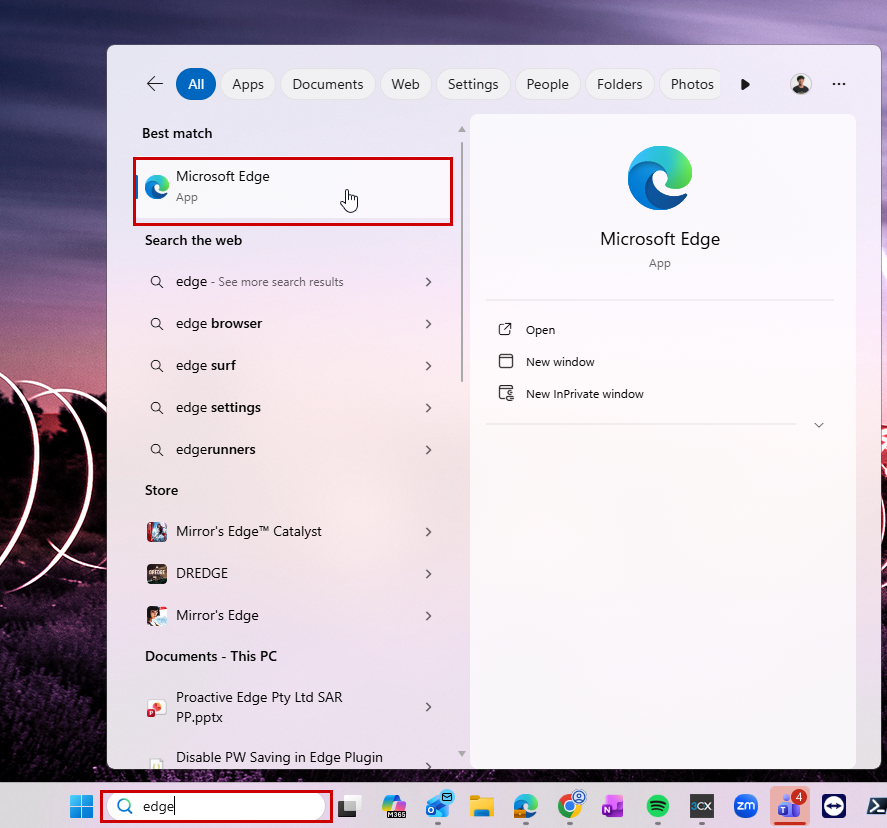
14. Go to the Windows Button on the bottom left of you screen and search for Edge. Click on the icon to open.
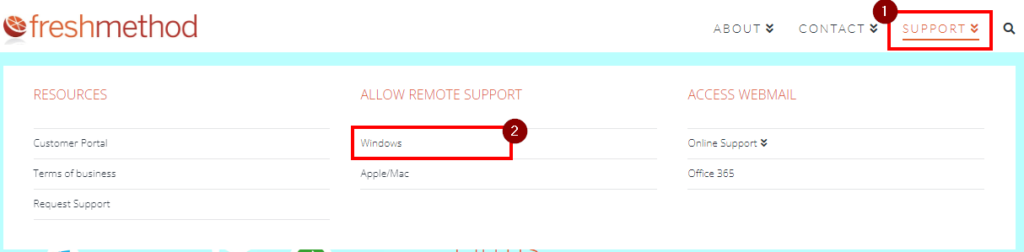
15. Once Edge is open, go to https://www.freshmethod.com.au , once on the website hover over Support and click on the Windows option located under Allow Remote Support.

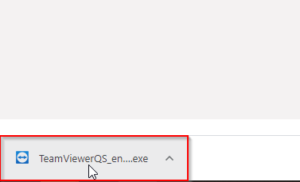
16. Teamviewer will now download. Once downloaded double click and run. Follow the prompts to allow.
17. You will now see an ID and Password like the below. Please note this down and do not close Teamveiwer (otherwise we will lose access)
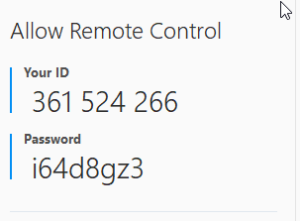
18. If you have an existing ticket, please now respond to that ticket with the above ID and password and we will continue to configure your new computer.
19. For a PC setup request, please use the following ticket request.
1. Unbox and Setup Computer or Laptop (Do not connect to Wifi or Network Cable)
2. Power On the computer.
3. Select the relevant country as your region (e.g., Australia) and click Yes.
4. Select the relevant keyboard (e.g. US).
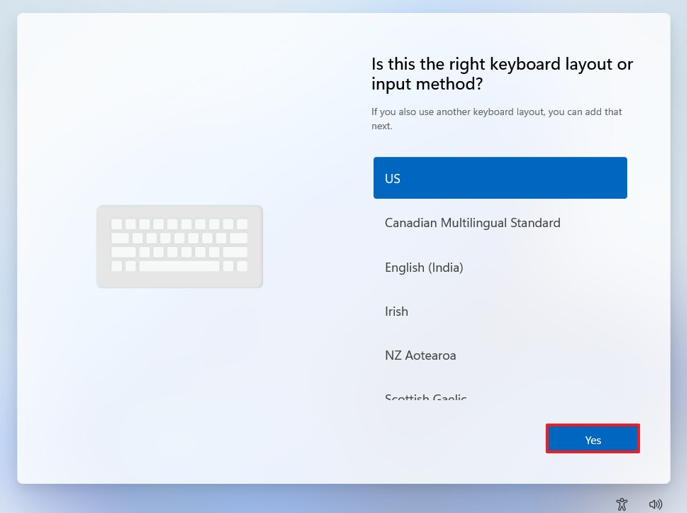
5. Select Skip when asked to add a second keyboard layout.
6. Connect the PC to your Office or Home Wi-Fi then click on Next.
7. Accept the License Agreement.

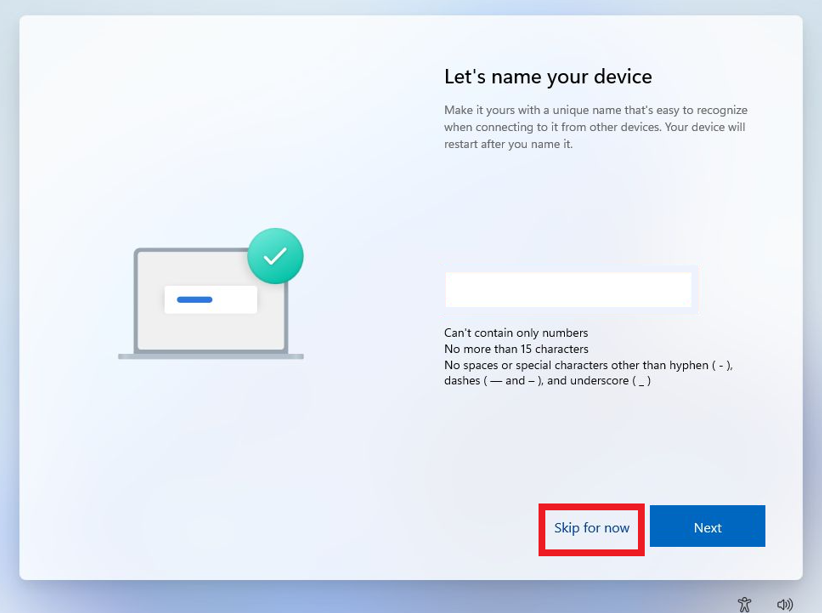
8. You will be asked to name your device. Click on Skip for now button.
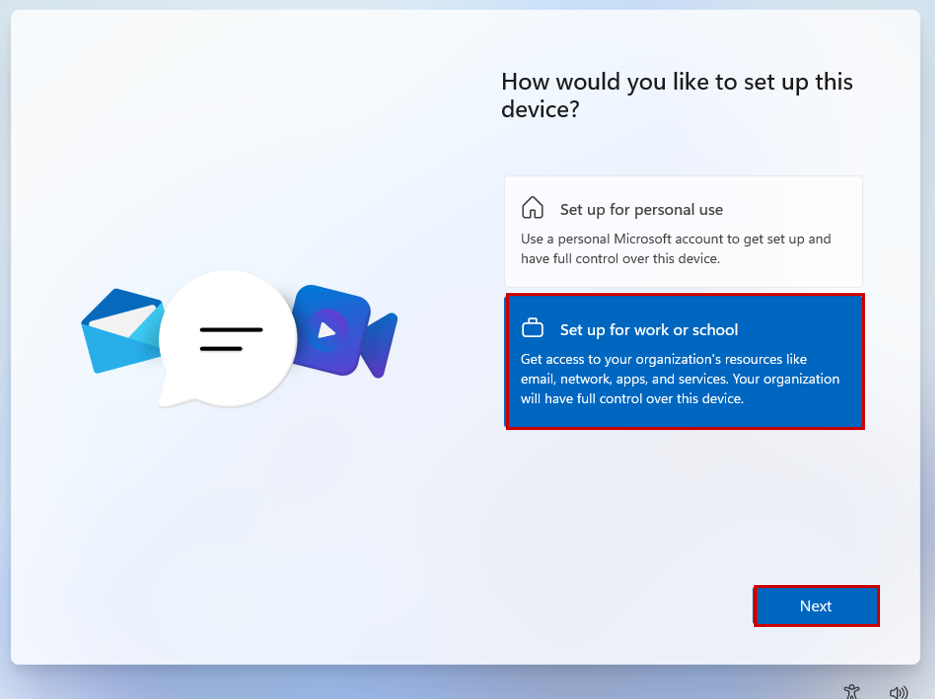
9. In the next page, click on Set up for Work or School for now then click on Next.
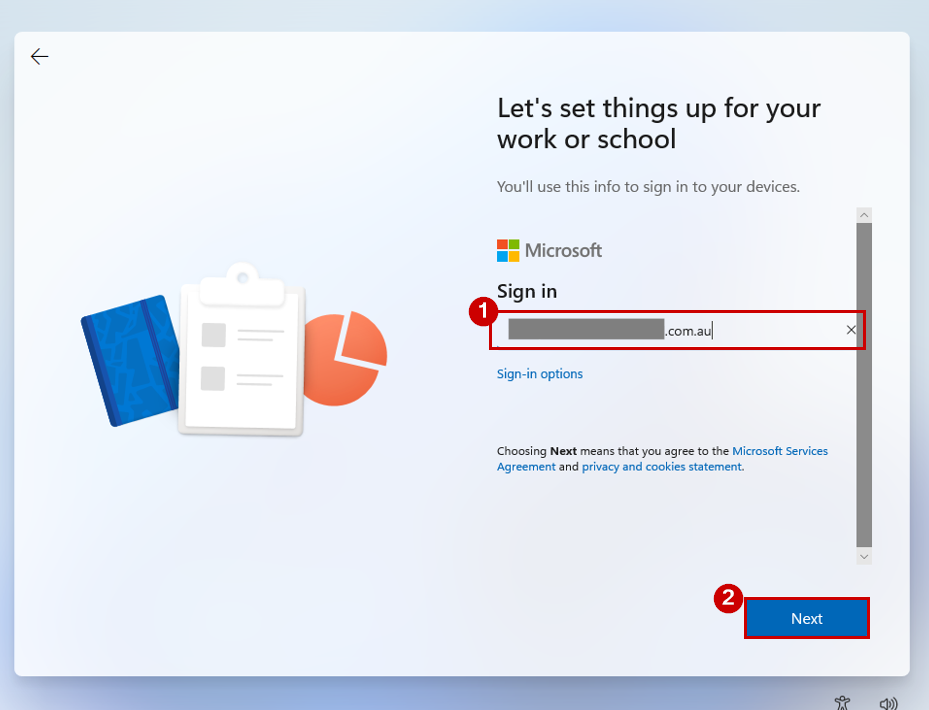
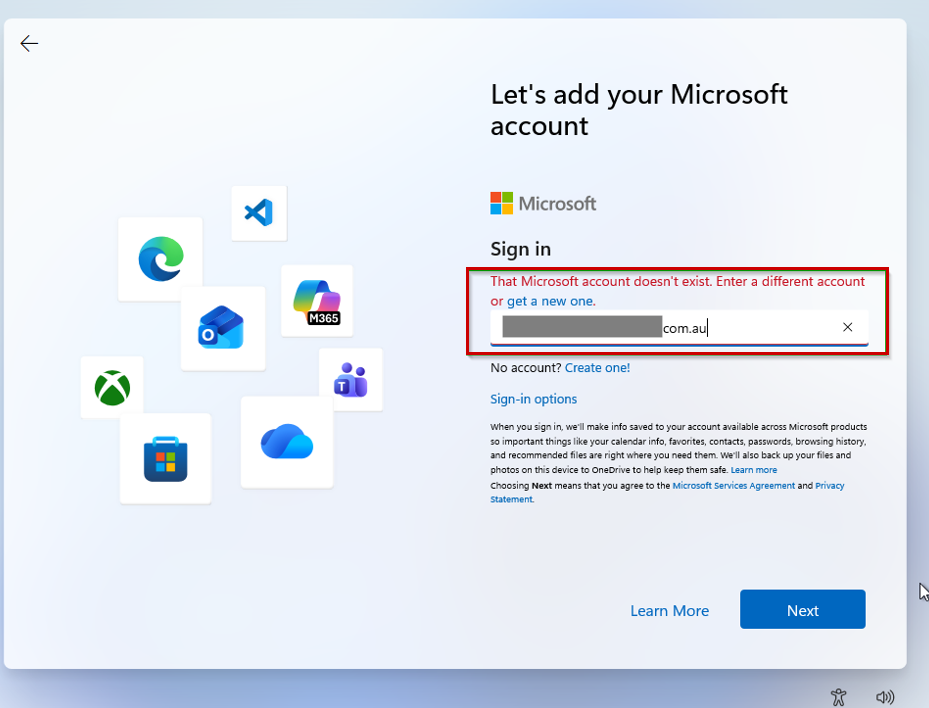
10. On the next screen, enter your Microsoft 365 username and click Next.
11. Enter your password and click Sign in. If prompted, complete the MFA verification to verify your identity.
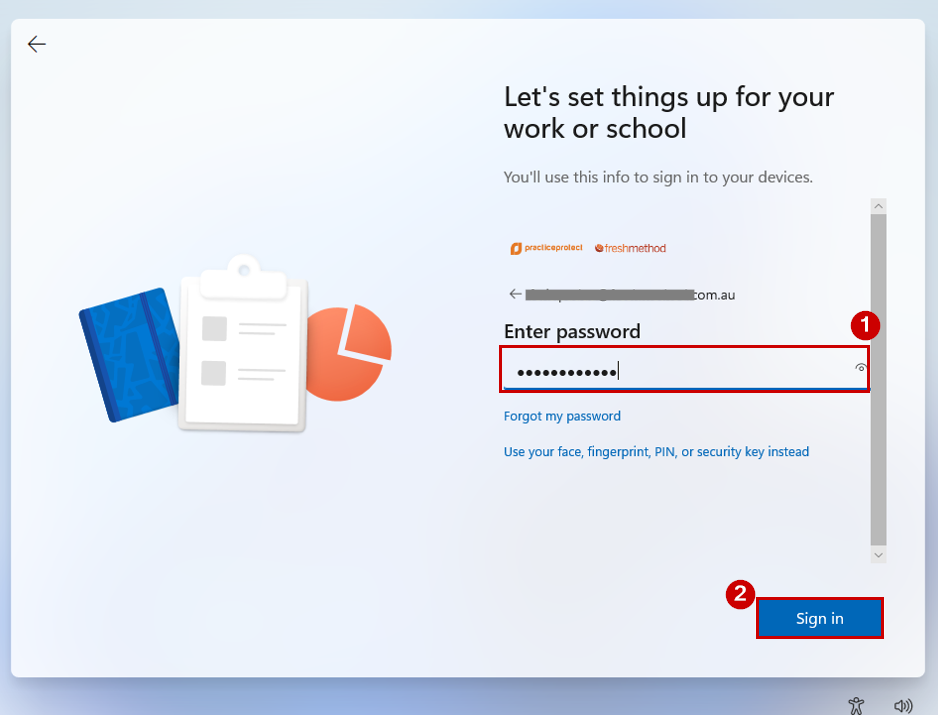
IMPORTANT! If you encounter the screen shown below or are unable to proceed past the password step, please contact the Freshmethod Helpline on 1300 766 554 for assistance.
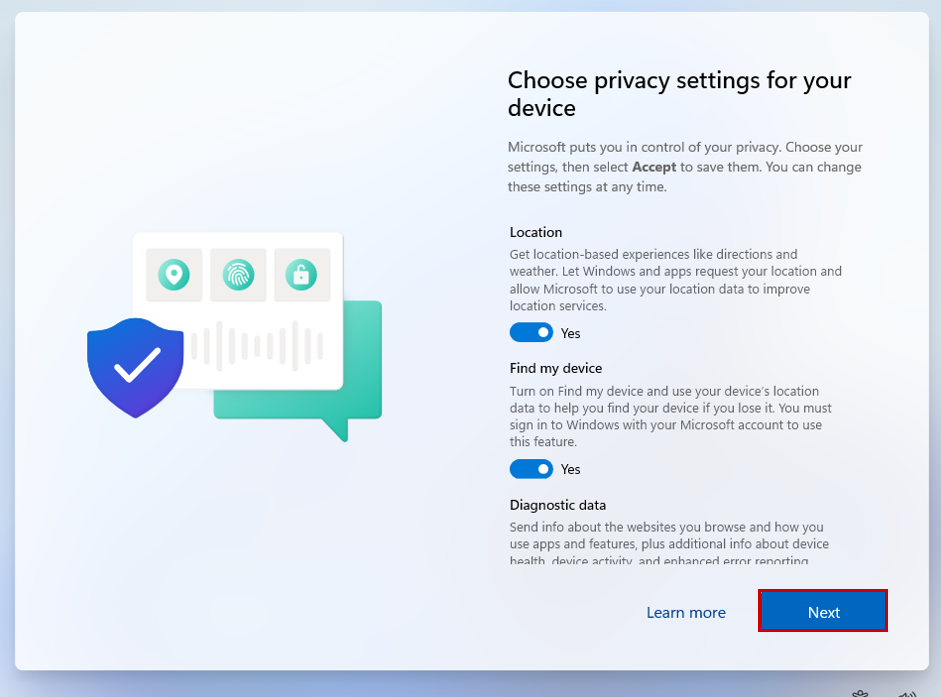
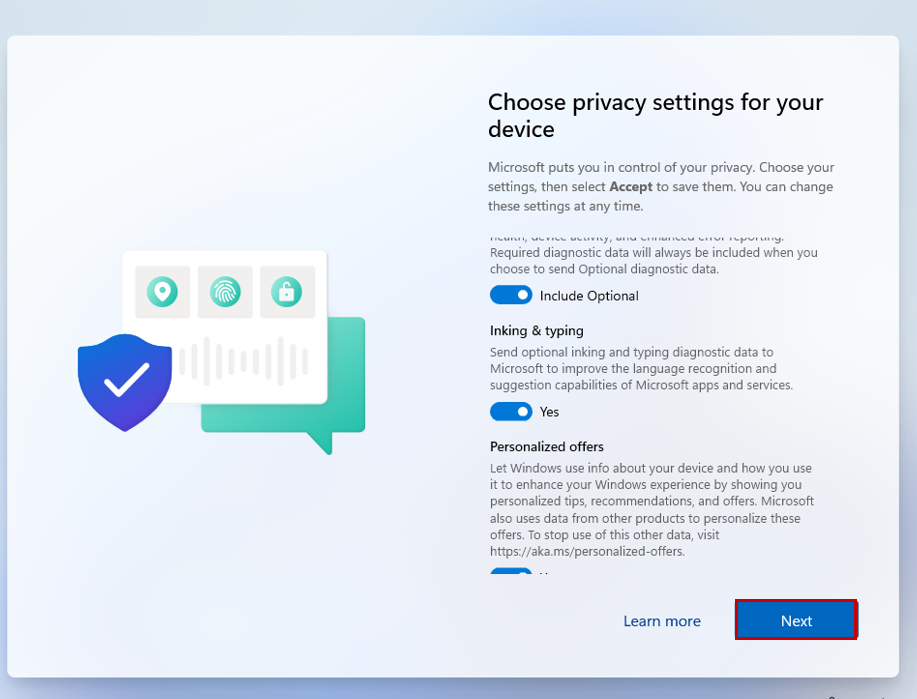
12. Please wait while your device is being setup. When the “Privacy Settings” screen appears, click through the Next prompts, then click Accept to continue.
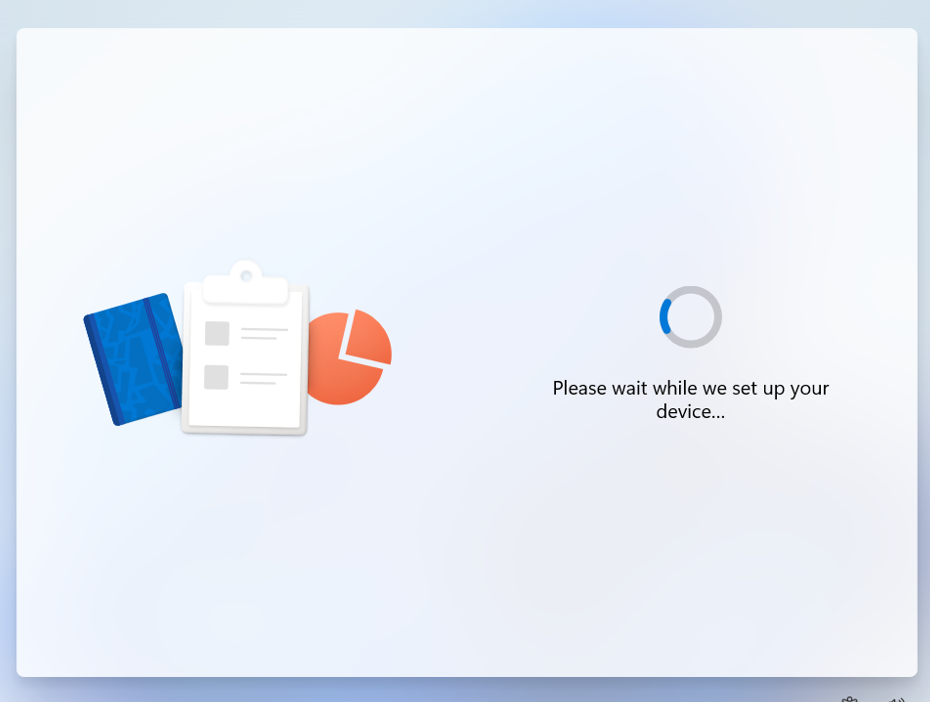
13. You may see screens such as “This might take a few minutes” while Windows process the setup in the background. Please do not turn off your PC during this process.


14. Once completed, Windows will load to the default Windows 11 home screen
15. Please make sure your device is connected to the Internet by checking the Wi-Fi icon. If you are disconnected, reconnect to your Wi-Fi network or plug in the network cable.
16. Click the Windows button at the bottom center of you screen and search for Edge, then click the icon to open it.
17. Once Edge is open, go to https://www.freshmethod.com.au. Hover over to Support and click on the Windows option located under Allow Remote Support.
18. TeamViewer will now download. Once downloaded double click and run. Follow the prompts to allow.
19. You will now see an ID and Password like the below. Please note this down and do not close TeamViewer (otherwise we will lose access).
20. If you have an existing ticket, please now respond to that ticket with the above TeamViewer ID and password and we will continue to configure your new computer.
21. For a PC setup request, please use the following ticket request.