Configure Office 365 email on iPhone using iOS Mail (native) or Outlook App
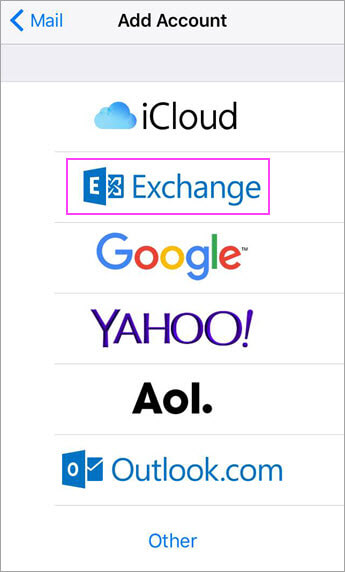
Go to your device’s Settings, scroll down and tap Mail > Accounts >Add Account.


Select Exchange.

Enter your Office 365 email address, password, and a description of your account. Tap Next.
Note: Your email address should be your Office 365 business account or school account. Such as @yourdomain.com, @domain.onmicrosoft.com, or @schoolname.edu.
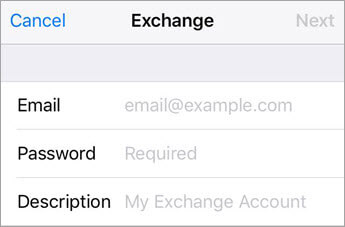

If you’re prompted to enter server settings, enter the following and tap Next.
- Email: your full email address.
- Server: outlook.office365.com.
- Username: your full email address.
- Password: email account password.

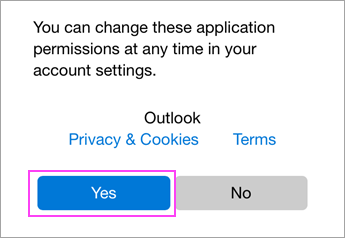
The Mail app may request certain permissions such as accessing your calendar and contacts. To agree, tap Yes.
Then choose the apps you want your email account to sync with your iOS device and tap Save.

Now you’re all set to go!

Open Outlook for iOS. The icon looks like this:

If you don’t have it yet, download it from the Apple Store.
Note: Available for iOS devices using iOS 10.0 or higher.

Open the collapsed menu in the upper left corner.
Note: First time using Outlook for iOS? Just tap Get Started.

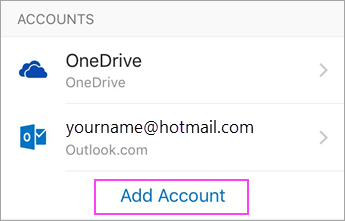
Tap Settings  > Add Account > Add Email Account.

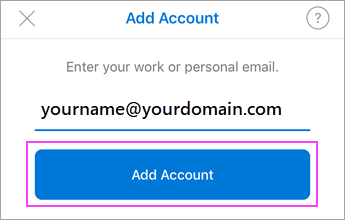
Type your full email address, then tap Add Account.
Note: If you’re asked to select your email provider, you may have to set up your email as an IMAP account.

Enter your email account password and tap Sign In.
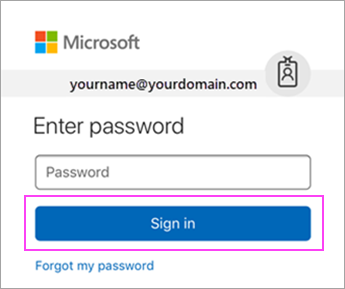

If you have 2-step verification, identify yourself using the method you chose (6 digit code, phone, or using the Microsoft Authenticator app. This may be required by your organization.
Note: Are you being prompted? Set up 2-step verification for Office 365 or use the Microsoft Authenticator app for easy verification.

Tap Yes or Allow to give Outlook permission to sync calendar, contacts, etc.
Swipe through the intro and you’re now ready to use Outlook for iOS!
