Purpose
This article will guide you on how to access your terminal server using Microsoft Remote Desktop on your MAC computer.
Pre-requisites
- Mac Computer or Laptop
- Access to the App Store
- Access to the Terminal Server/Remote Computer (Username and Password)
- Host name or IP address of the Terminal Server/Remote Computer (to be provided by your Network Admin)
- Gateway information (to be provided by your Network Admin if necessary)
Instruction
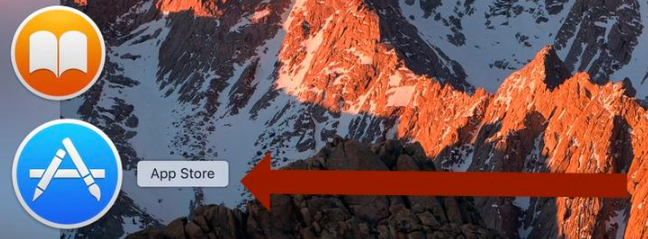
- On your Mac computer or Laptop click on App Store
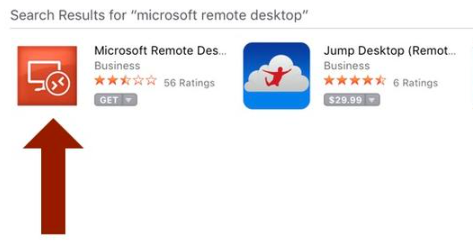
- On the Mac App Store, type “Microsoft Remote Desktop” into the search bar at the topright hand portion. click the GET button to begin the download then click Install app.
- You can now close the App Store once the installation is complete.
- To access the newly downloaded app, click the the grey “Launchpad” icon in the Dock. Click the Microsoft Remote Desktop app icon to open the app.
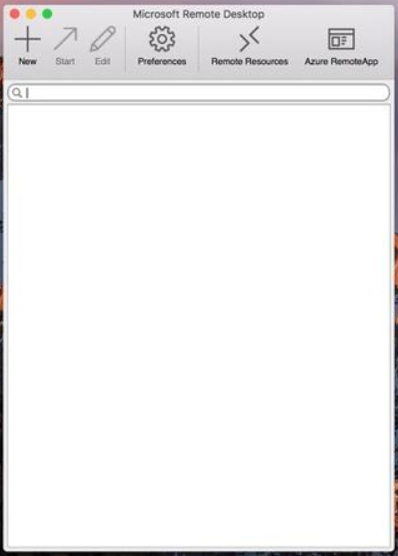
- Click on “New” button at the top left of the Microsoft Remote Desktop. You will be prompted to fill in required fields.
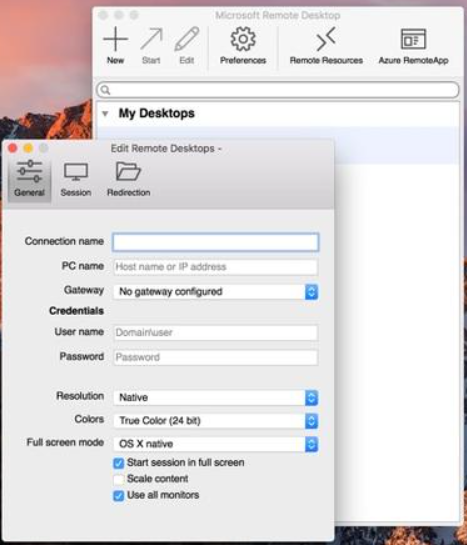
- On the General tab, enter the Connection name. This has no bearing on the connection itself. You can call anything you like, i.e. “My Terminal Server”. Next field is the PC name or the IP Address, enter the correct information provided by your network admin. Enter the Credentials (User name and Password). This is your domain login to the terminal server or remote computer. Enter the Gateway information if necessary provided by your Network Admin. Resolution, color and full screen mode are all personal preference on how you launch the Remote Desktop in you machine. You can leave it default or change it as you like.
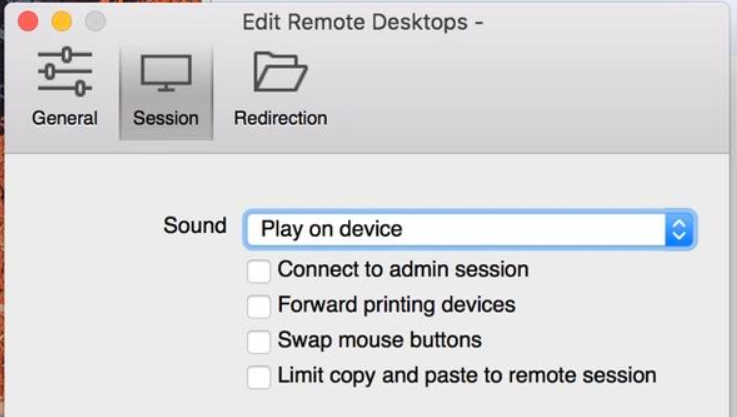
- Click on Session tab to configure peripheral devices for your remote desktop. With the “Sound” drop-down, for example, you can choose where you want any sound to play. Clicking the box next to “Connect to admin session” will allow you to connect to an administrator session on a Windows server, and “Forward printing devices” will make your local printers available during your remote desktop session. “Swap mouse buttons” will allow you to use left click commands with a right-click Mac mouse.
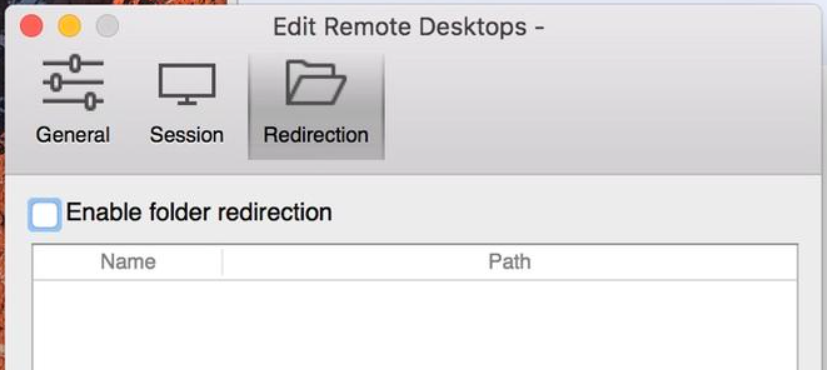
- Click on Redirection tab. You can choose a local folder here to be available on your remote session. Click the “+” button, choose a name for the folder, and input the folder’s path to have it available.
- When you are finished configuring your remote desktop, click the red close button at the top left of the dialog box and your new remote desktop will be added.
- To start the session with the Terminal Server or Remote PC double click on the Microsoft Remote Desktop icon.